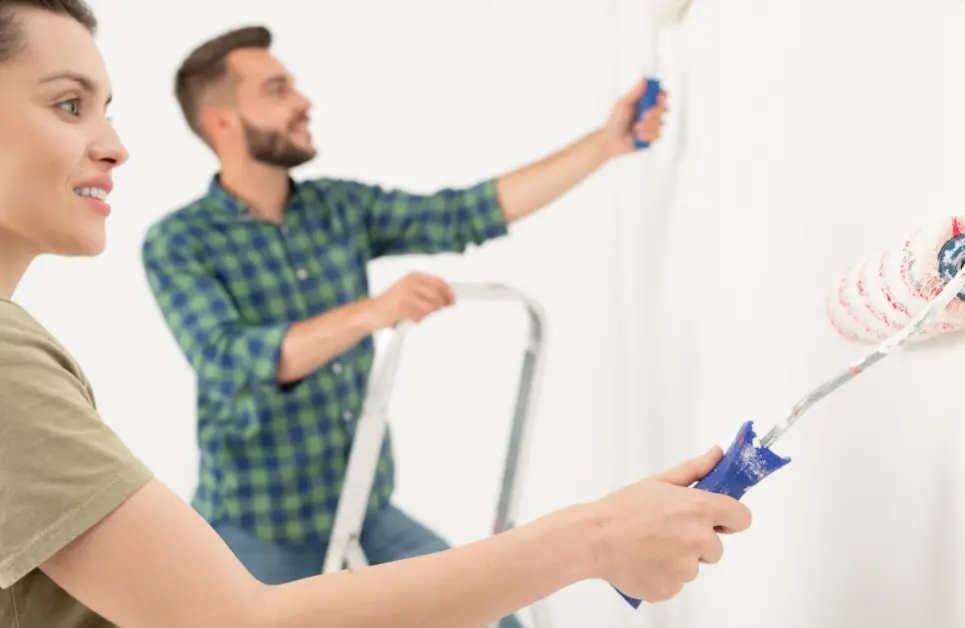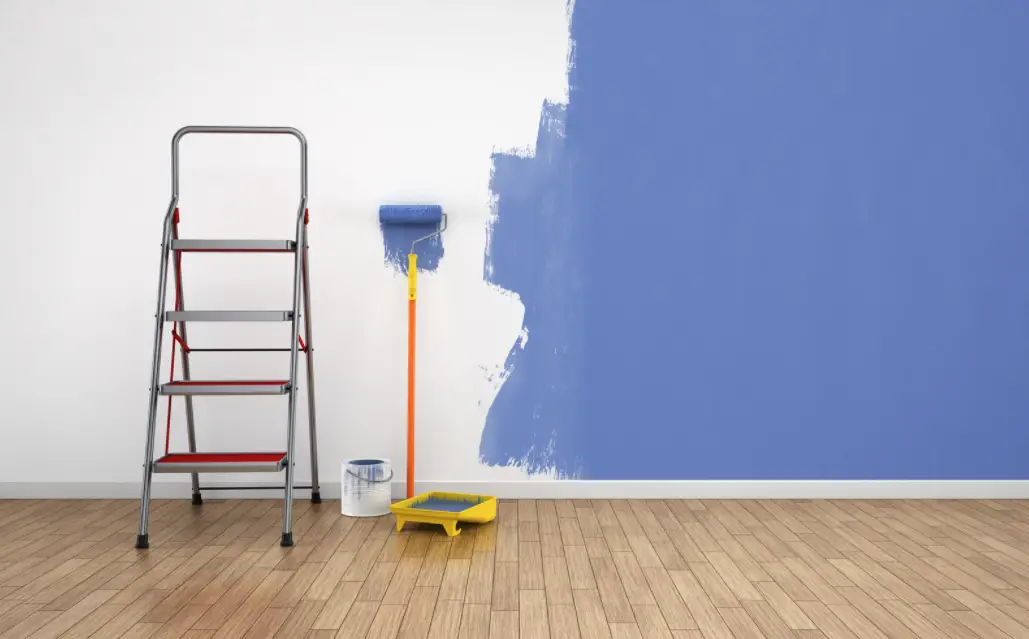
Unless you plan on using painting companies in Edmonton or in whatever town you live, then you aren’t going to get great looking results. Sure, doing it DIY style can look great and save you a lot of money, but you have to know what you are doing beforehand. And one of the biggest obstacles to great looking results is that it isn’t as clean as it should be.
You need to practice good painting cleaning habits to make sure that you get the professional results that you were looking for. We have provided other painting tips to give you good looking results, but if you aren’t keeping things clean then they won’t help as much as they should.
In this article, we will go over several paint cleaning tips to keep the process clean and tidy both during and after the painting.
Page Contents
1. Use the right drop cloths
Plastic drop cloths are popular with home DIY painters as they are cheap and you can fill the entire space easily. However, they can create a terrible mess. When paint spills on them, you can step on the splashes and puddles and track it everywhere. Since the paint doesn’t get absorbed, it can stick around for a while.
Instead, use canvas drop cloths. When you spill or splatter, the paint gets absorbed into it and is less likely to spread around. Yes, they can be expensive, but they can be used over and over and will ultimately make your life much easier.
2. Keep the can clean
Your can of paint is one of the worst offenders when it comes to getting paint everywhere while you are painting. You have to take a few precautions to make sure the paint doesn’t get everywhere due to the can.
The first step is to prevent paint from pooling in the ridge on the top of the can. This is going to drip and when you move the can around will likely spill off. After opening the can, take an awl and hammer and puncture a small hole in it. This will allow the paint to drain back into the can and keep the edge neat.
Next, you should pour the paint into a tray for your brush or roller. Dipping into the can is a bad idea mainly because the paint will dry out with the lid off for extended periods. For the sake of keeping things clean, dipping in the can leaves you with no way to clean excess paint off of the brush.
Unless you put an elastic over the can so it goes over the diameter of the opening. You can then run the brush over the band so the paint drips into the middle of the can.

3. Keep the tray clean
Your tray is also going to contribute to some mess if you aren’t careful. And unfortunately, they can also be a pain in the neck to clean up. You can use a tray liner to remove afterward and throw away for easy clean up. Or, you can use some aluminum foil to line it and throw that away after.
Just make sure to use your brush to sweep out any leftover pain so the foil isn’t dripping then you need to get rid of it.
4. Clean the brushes and rollers
Brushes and rollers are not cheap so you should do your best to make sure to keep them clean after using them. If you take care of them then they will be able to get a few jobs done before you need to buy more.
There is a 5 in 1 tool for painters that has a curved edge to scrape off the rollers. Do this over the try before you clean that off and most of the paint will be removed. At this point you can fill a bucket with water and rub the rest of the paint off into the water with your hands.
Brushes are a little more delicate so you have to be careful with them. First, run it under warm water and rub the bristles to get the excess paint off. Then use a paint brush comb to get all of the paint off of the bristles.
If you plan to paint again with it in the near future then keep the brush soaking in some water. Otherise, put it in a ziploc bag to keep it from getting dried out.
Preparation is key when painting
The meticulous setup, prep work, and quite often less painting than preparing are some of the reasons why most people avoid painting as much as possible. Most of the time, you are done painting a room in a couple of hours; it’s all the furniture moving, floor covering, trim taping, etc., that make the painting process a lot longer.
When it comes to painting without causing a mess, prep work is crucial. Our tips to keep the painting job as clean as possible are helpful, but how you set the project up will profoundly impact the process. Keep reading to find out more tips for mess-free painting.
Move and/or Cover Furniture
Move out of the way any piece of furniture along the walls of a room. If possible, you should remove the furniture entirely out of the room. The fewer things in the room, the easier the painting job will go. You sometimes end up with a big mess simply because you don’t have enough space to place/move items out of the way.
When you’re stuck with the furniture in the room, you must protect it with a drop cloth/plastic. Tape it around the seams so that no paint gets to the furniture surface. Place everything in the middle of the room and as far from the walls as possible. You need space to move around when painting the baseboards, trims, and ceiling.
Protect the floors
For whatever reason, some people think that hard surface flooring doesn’t require protection from paint. It’s one thing if you need to clean a drip here and there, and another thing when you dump the whole tray/gallon of paint on the floor. You will spend hours and hours removing it, if possible at all.
Carpets
Place canvas drop cloths over the carpets for the best protection. Old linens, tablecloths, plastic, and even cardboard work, but canvas ensures the best protection. It won’t rip and it’s long-lasting, so you can walk over it without worrying about tearing it.
Hard floors
Use plastic sheeting or rosin paper to cover the hard surfaces such as laminate, tiles, or hardwood flooring. Even if it takes time, make sure to protect all flooring so that you don’t end up with a big mess.
Protect doors and windows
Paint rollers can cause a mist that leads to paint specks below the roller and get onto door trims, windows, handles, and locks. Use some painter’s tape to tape around the window trim and door. You can also protect the door openings and window panes with plastic. When you’re done with painting, the last thing you want is to scrape windows and repaint the doors.
The rule of thumb is to cover or remove anything that you will not paint. It’s the best way to avoid drips, spray, and splatter messing your space.
If possible, remove wall fixtures
Ideally, you should remove all outlet covers, switch plates, and every other wall cover that gets in the way. Remove the covers and place them safely; tape the screws to the designated cover or leave them in the screw holes. Use painter’s tape to protect the switch or outlet. You will be able to paint around buttons and outlets. The results will be perfect after you remove the covers.
You might be tempted to tape the covers, but we don’t recommend you do that. It’s because you won’t be able to go as close as possible to the edges. Additionally, you could make a mess and spend hours cleaning.
Get a putty knife
Since you don’t want to paint the carpets, you should use a putty knife to get in the tricky corners with sophisticated trim. Get a two-inch piece of painter’s tape and place it along the baseboard’s length—half an inch of the tape on the baseboard should do it.
Continue with pushing the tape down below the baseboard with the putty knife for the perfect seal. The putty knife is excellent because it can get into places where your fingers cannot.
Always wipe surfaces before painting
Washing the walls before painting is obvious, but have you also considered dusting and wiping the trim down? To have a clean painting job, you need to do such things as well. Reach for painter’s tape—it’s ideal for effortless removal.
The painter’s tape isn’t highly sticky and doesn’t stick to dusty surfaces. Make time and begin with removing dust and debris from characters in the room. Both the tape and the paint will adhere better, so you have excellent painting results without a mess.
Put some lotion on your face
Don’t forget to protect your body as well before painting. Apply a generous amount of body lotion on the exposed areas of your skin (arms, hands, face, etc.). This way, any drips and splatters will be easy to rinse thanks to the oily barrier created by the lotion. Plus, your skin will be soft and moisturized.
Protect the light fixtures
Instead of taping off the flush-mounted fixtures, it’s better that you take down the fixtures. Take off glass bulbs, covers, and other components that are easy to remove. Unscrew the fixture from the ceiling and hook the fixture to the junction box with a wire. Don’t forget to slip a bag over the fixture.
Use various painting tools
When you plan the painting, look into all the tools you can use for painting. Paint trays, rollers, and brushes aren’t the only tools to use when painting. Detail tools, edgers, foam brushes, and many more specialty painting brushes are also available. Use them to do detailed and clean painting work. Even if you need to spend more than anticipated, you will save yourself a lot of time and energy when using the most appropriate painting tools. You won’t need to tape everything in the room or cover every square inch that doesn’t get painting.
Extra tip
No matter how hard you try to avoid the splatters, some paint will still end up in all the wrong places. Use acne pads (they’re made with alcohol) to remove paint quickly. Typically, they don’t bleed or fade furniture or upholstery. Keep in mind to squeeze out the excess liquid to avoid paint smearing and causing a mess.
Frequently Asked Questions
What happens when you don’t clean before painting?
Nothing can stop you from painting a glossy, dirty, flaking, or chipping surface. However, it shouldn’t surprise you if the results don’t last in time. For new paint to stick, the interior/exterior surface has to be clean and free of dust so that the paint adheres perfectly to walls, ceilings, and trims.
Is it essential to clean brushes?
If you don’t clean and don’t store them accordingly, spending the extra buck on high-quality brushes doesn’t make any sense. Even if you take things slowly when painting, some flecks of paint will stay on brushes. Cleaning and storing the brushes properly will help them stay in good shape for many painting jobs and years.
Is it possible to save a dried brush?
Simply soaking a dried brush in a brush cleaner will revive the brush. Whether it’s caked with dried paint or varnish, a brush can look brand new with some cleaning. The paint sludge will go to the bottom so that you pour the brush cleaner into the can afterward. You might need it some other time for the same cleaning job.
Can you rinse and reuse a paint roller?
A high-quality roller should last up to 5 cycles before shedding. A good paint roller allows several uses without affecting the quality of the painting. It’s always worth paying the extra buck on a high-quality paint roller.
How do you clean and store brushes?
Use some cling film to wrap the head of the brushes and rollers. You can also secure them in an airtight plastic bag. Get some masking tape to seal around the handle and store them in a dry place for a couple of days. Once you’re done with the painting, you should put some muscle into properly cleaning the brushes.
 A Very Cozy Home Home Decor Tips and Ideas
